Step 1: Navigate to Chemical Data Records
-
Log into the EHS-Dashboard.
-
Navigate to the ChemTrack section.
- Apply filters for Material, Facility, Date Range, or Record Type as needed.

Step 2: Review Data for the Reporting Period
-
Confirm the correct date range is selected.
-
Review usage, storage, and waste totals.
-
Verify records are complete and accurate before building reporting widgets.
If discrepancies or missing materials are identified during review, refer to the How to Resolve Material Setup Issues when Adding Usage/Purchase Data guide.

Step 3: Enter or Create a Workspace for Chemical Data
-
Locate the Workspaces section on the left side of the screen.
-
Enter an existing Workspace designated for Chemical Data, or click Create Workspace to create a new one.
For detailed instructions on creating, editing, or archiving Workspaces, please refer to the How to Create and Manage a Workspace guide.

Step 4: Add a Chemical Data Widget
Create a new widget or select an existing widget that displays the compliance data you want to monitor. Then add that widget to the desired Workspace and arrange it as needed.
For detailed widget configuration instructions, refer to the How to Create and Configure Widgets guide.
Step 5: Arrange and Finalize the Workspace
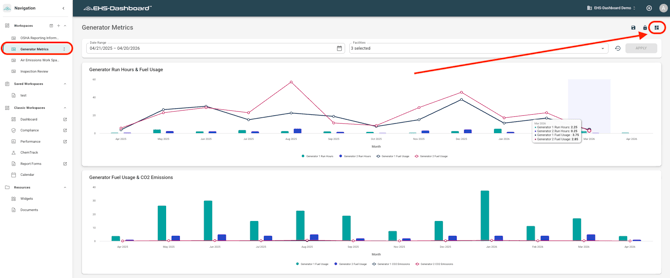
- Click the Lock icon to unlock the layout.
-
Reposition and resize widgets as needed.
-
Click the Lock icon again to lock the layout.

Outcome
Chemical Usage, Storage, and Waste data is now visible through real-time dashboards. Workspaces support internal monitoring, leadership reporting, and reporting readiness without manual spreadsheet compilation.