Step 1: Log Into the EHS-Dashboard and Navigate to Custom Forms
- Log into the EHS-Dashboard.
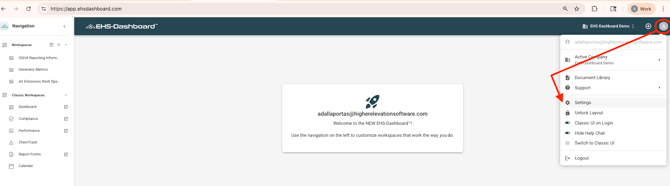
- Navigate to the Admin section.
- Select Forms -> Custom Forms.
 Note: For additional guidance on building Custom Forms (field types, conditional logic, triggers, and layout), refer to the Custom Forms Help Guides.
Step 2: Create a New Inspection Form Template
- Click + CREATE NEW FORM.
- Select either Calendar Item or Report Form based on your inspection workflow.
- Name the form using a standard naming convention such as:
Safety Inspection Checklist
Facility Inspection
Monthly Audit
Area Safety Walkthrough


Step 3: Configure the Inspection Fields and Checklist Structure
Build the full inspection form structure, including inspection details, questions, and deficiency documentation fields.
Add the core inspection identification fields first.
Example fields to include:
Inspection Information:
-
Facility
-
Inspection Area or Department
-
Inspection Type
-
Inspection Date
-
Inspector Name
Next, build the inspection questions. Checklist items should use dropdown selections so responses are standardized and trackable.
Example dropdown response options:
-
Pass
-
Fail
-
Not Applicable
Next, organize the questions into logical categories that reflect how inspections are performed in your facility. Structure the form so inspectors can move through areas in a natural, efficient order.

Step 4: Add a Corrective Action (CAPA) Trigger Field
-
Add a Yes/No field such as:
Corrective Action Required? -
Add a follow-up text field such as:
Corrective Action Summary -
Apply logic to the Corrective Action Required field so that when Yes is selected, the system triggers creation of a CAPA form and displays the corrective action summary field.
Note: Field logic is required to control when CAPA records are created and to ensure corrective actions are only generated when follow-up is necessary.

Note: Logic used to trigger CAPA creation, email notifications, metric or material data entries, and additional form generation is configured through form logic rules. For additional guidance on configuring Event Triggers in Custom Forms , refer to this Help Guide.
Step 5: Configure Email Notification Triggers
Configure email notifications so leadership is notified immediately when a corrective action is required.
Recommended notification recipients include:
EHS Manager
Facility Manager
Safety Manager
Supervisor
HR (optional)
Suggested email subject line:
New Inspection Deficiency Identified – Action Required
Note: For step-by-step instructions on configuring email notifications and email templates, refer to the Email Alerts Help Guide.

Step 6: Save the Form Template
-
Click Save & Exit.
-
Confirm the Inspection Form is now available in your environment.
Outcome
Once created, Inspection Forms can be used to perform inspections and audits consistently across facilities, document findings, and support recurring inspection scheduling and corrective action tracking.